


#1,975 Au Naturel Makeup.
At the age of 29, I’ve finally learned how to apply makeup in such a way that has the “no makeup” look, though it actually requires an enormous amount of makeup, ironically. If you have fair skin, allergies, and are a night owl like me, you might wake up and struggle with the same super dark circles under your eyes. It’s taken a lot of years to find the right combo of potions and correctors to fix this and I’m excited to share it with you in case that’s something you’d like to try, too.
I would love to tell you “if you just drink more water and use eye cream they will go away.”
But that is a lie.
Or, well, it doesn’t work on me. I am trying to use eye cream these days (a free sample of Estee Lauder Advanced Night Repair that I intend to stretch through the end of the summer then try to score another free one since it’s more costly than solid gold bricks) but I don’t know that it’s doing all that much for the dark circles. It just seems like the responsible thing to do. SO.
Here’s what I look like with my “au naturel no makeup” look, post-makeup but pre-mascara. In other words, this is what I can only wish my skin looked like on its own but it actually required quite a bit of this and that.

These are the products in my bag of tricks:

And here are the steps I go through every morning these days.
1. I put a stripe of my moisturizer on one finger and a stripe of Clinique CC Cream ($37) (I wear ‘light’) on the next finger and blend it together onto my freshly washed face and eyes. My mama swears her drugstore Garnier BB Cream ($13) is just as good, but it didn’t work as well for me, sadly. The high dollar stuff just seems to reflect light softly and smooth on easier.
2. I generously dab on Physician’s Formula Gentle Cover yellow concealer stick ($7) under my eyes on the dark circles and use my fingers to very gently blend it in. This is the most important base layer!
3. I sparingly dab on Benefit Erase Paste ($26) (I wear ‘fair’) on the dark circles using my ring finger and very VERY gently blend it in by dabbing, never rubbing. I take care to not let it settle into the creases and keep blending it.
4. I put CoverGirl Invisible Concealer ($6) in ‘fair 115’ (my go-to since 7th grade!) on any bumps and blend it in with a makeup sponge.
5. Using my fluffy little black eyeshadow brush, I put a light dusting of Bare Minerals Well-Rested eye brightening powder ($18) under my eyes to set the yellow stick + Erase Paste and at the inside corners of my eyes.
6. The last step for the eye circles and possibly the most important—I use that same brush to put a light dusting of Stila eyeshadow ($18) in Starlight on top of the Bare Minerals. There is absolutely no substitute that I’ve ever found for this consistency/color eyeshadow. It’s so microfine and sheer, it just gives my eyes the perfect amount of brightness.
7. Now to blend it all together and give me some semblance of a sunny glow, I use a big fat fluffy brush to gently dust Physicians Formula Mineral-Wear bronzer ($8) in a sweeping motion from my forehead to my cheeks, barely dusting my eyes along the way. A sweep across my chin and nose, and that’s just enough.
8. Then I add slightly rosy cheeks by dabbing my fluffy brush onto my Clinique Chubby Stick ($21) in 02 robust rhubarb and sweeping/dabbing it under my cheekbones/onto the apples of my cheeks just a little.
9. I do a tiny bit of contouring on my nose to make it look a little smaller by dotting Loreal True Match Super Blendable crayon concealer ($9) in medium/deep ONLY onto the sides of my nose, then blending it in with my fingers. I use my eyeshadow brush and the Stila starlight shadow to dust the stripe down the center of my nose. It’s like magic how this works.
10. Last thing before whatever mascara, I just put a tiny bit of L’Oreal Infallible 16 hour eyeliner ($9) in black brown on my upper lid only. I like L’Oreal mascara, but I’m really not terribly picky.
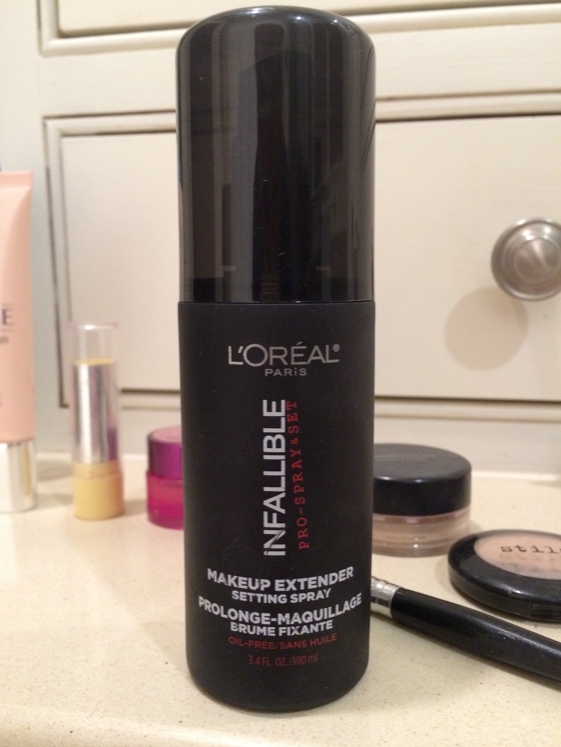
11. Very last, I spritz my whole face with this magic Infallible Makeup Extender Setting Spray ($17) so it all stays put no matter how humid it gets outside.
SO. Is it not mind-blowing how much it took to get the above effect? If it helps one of you get rid of your uneven skin and dark circles, then I’ve done my job here.
P.S.
This is a crazy expensive list of products—but I should note I’ve collected these over many months/years and found the perfect assemblage just now. I didn’t buy it all at once!


